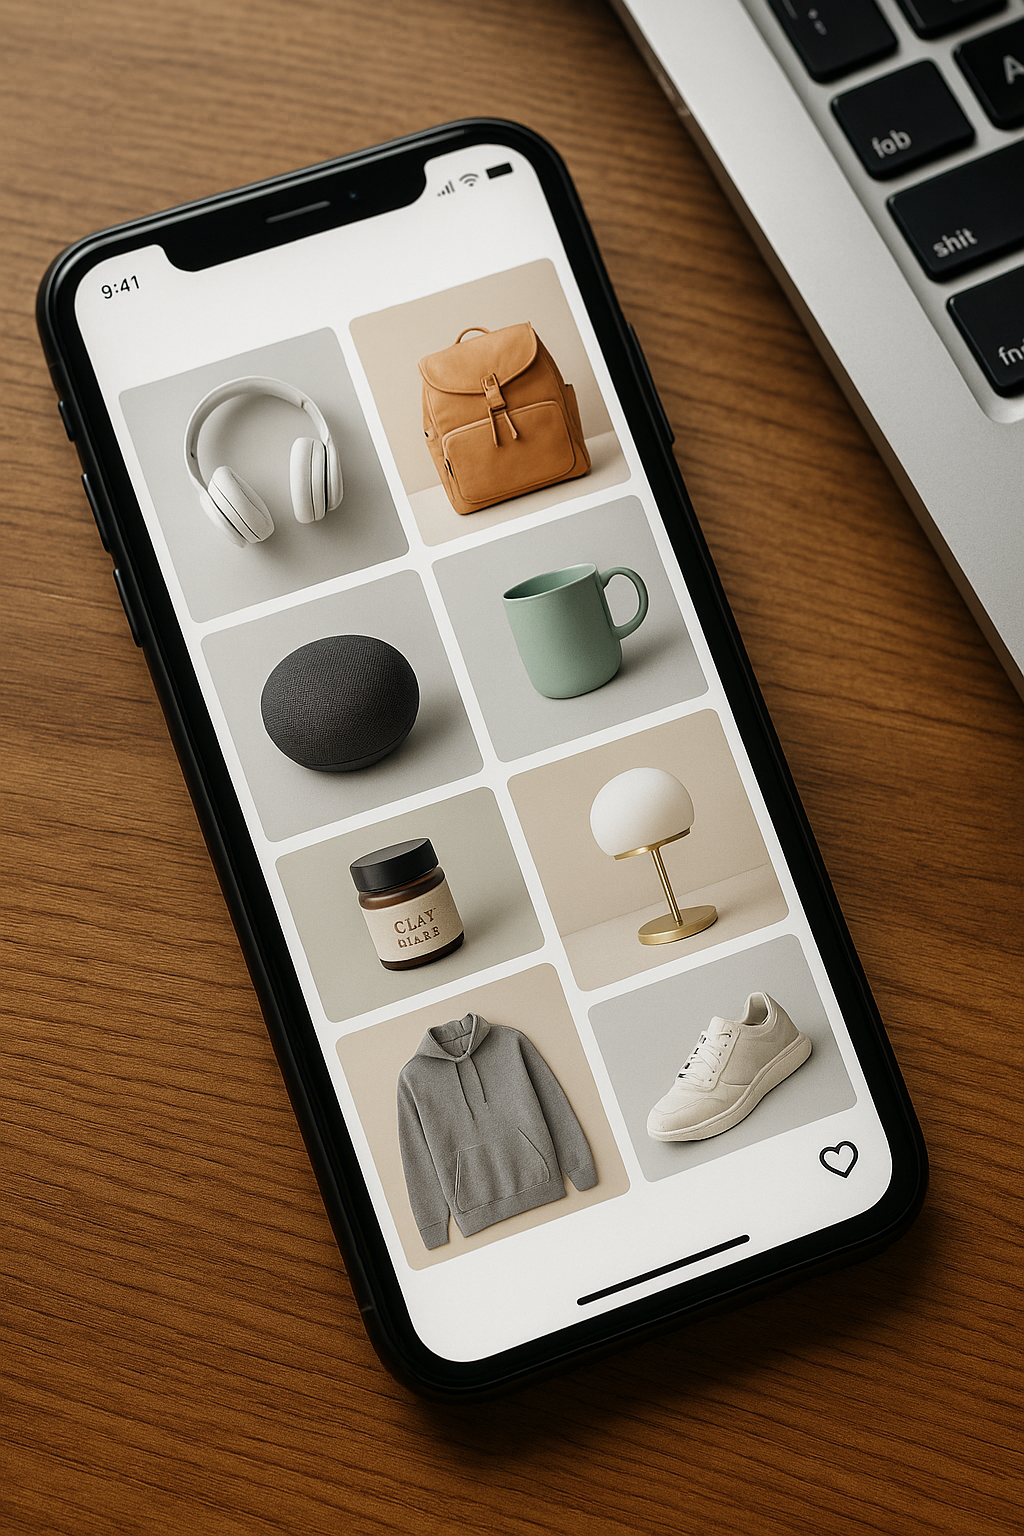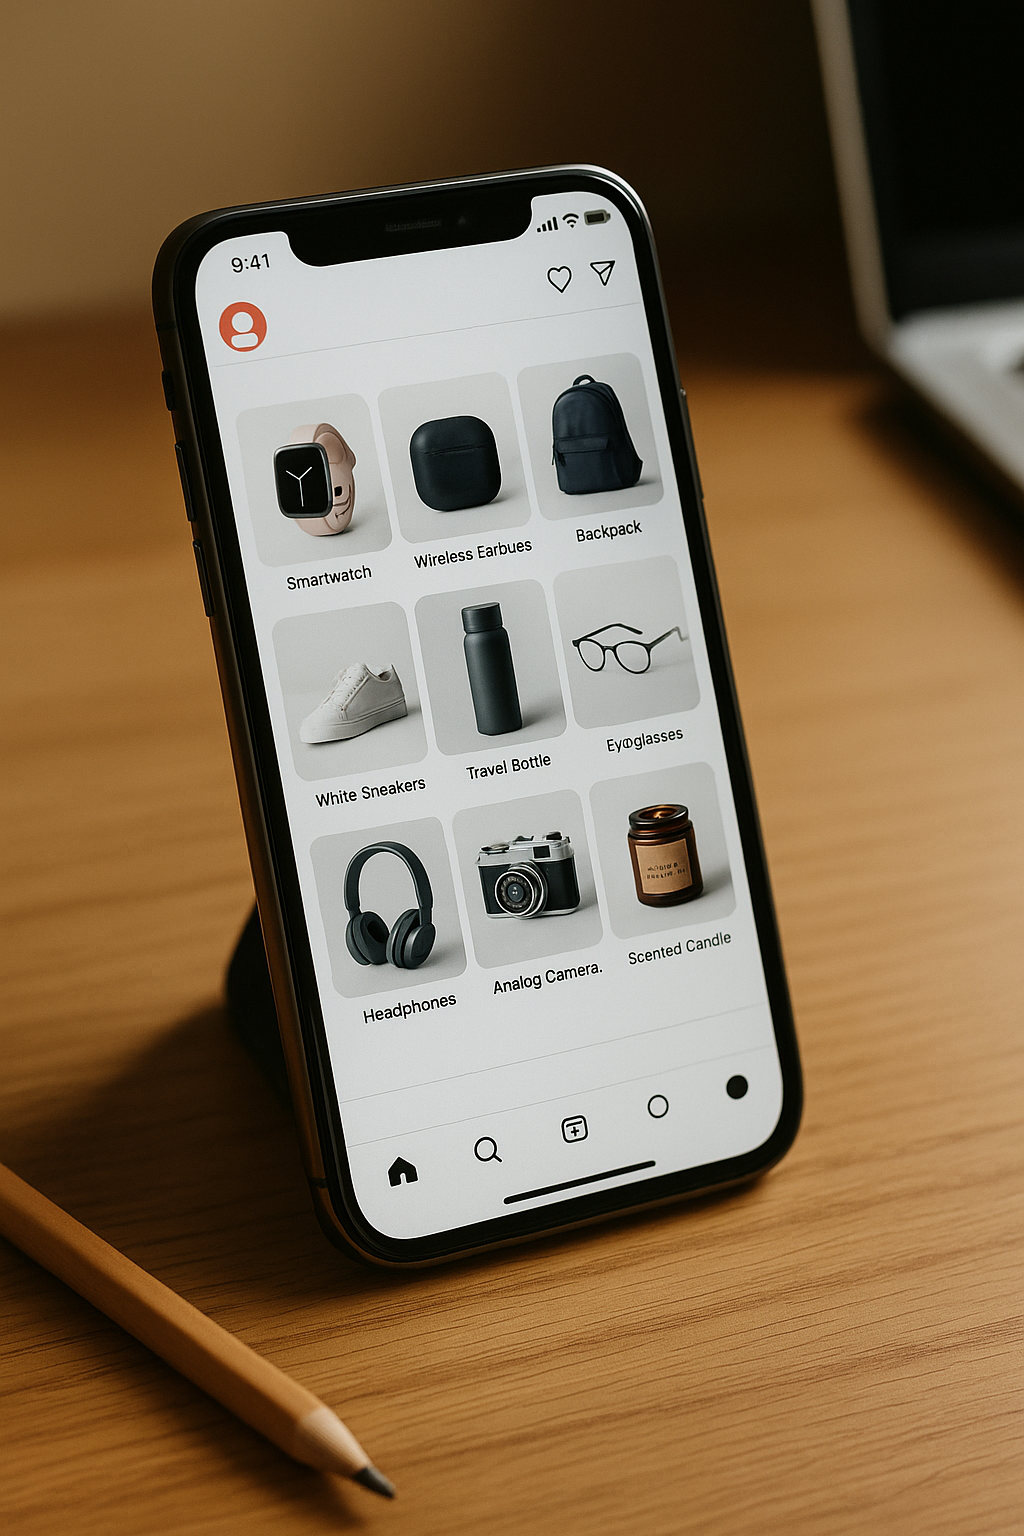
The PrestaShop connection turns your catalog into source material for social posts. My Post Factory fetches recent products, imports their photos into the automation gallery, then uses that information to fill the editorial sections.
1) Enable the Webservice in PrestaShop
In your PrestaShop back office, open the advanced settings and go to the Webservice page. Enable the Webservice if it is not already active.
Create a new key with a clear name, such as My Post Factory, so you can identify it later.
Keep the key private. In My Post Factory, it is stored encrypted and is never displayed again after saving.
2) Set the minimum permissions
In the key permissions, enable at least products in GET, categories in GET and images in GET.
These permissions are enough to read the 30 most recent products, understand their categories and download their main images.
You do not need write permissions: My Post Factory does not modify your PrestaShop store.
3) Link the store to the automation
In My Post Factory, choose PrestaShop in Magic onboarding or open the PrestaShop Store panel inside an existing automation.
Paste your public store URL and the Webservice API key. The URL becomes the automation name, then synchronization imports product photos into the gallery.
The automation switches to Your images + post subject, which lets generated visuals combine your product photos with the post topic.
4) Refresh products later
When you add new products in PrestaShop, go back to the automation and click Synchronize products.
My Post Factory deletes the previous automation gallery, fetches the 30 most recent products again and replaces the photos with the new set.
This keeps your automation aligned with your real catalog without manual image uploads.